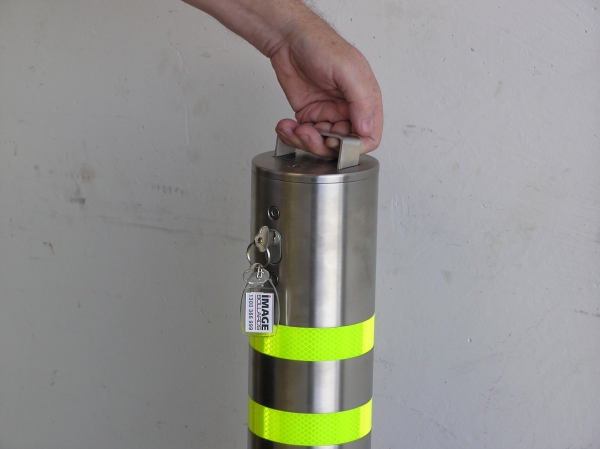
Is it Easy to Install Removable Bollards?
If you’ve taken the decision to install removable bollards to improve your safety levels the next question that you need to ask yourself is how they will be installed. At Image Bollards, we supply and install many types of bollards for our busy clients, and it’s up to them to make the decision on what will suit their needs. In this article, we will look at how a bollard can be safely installed with some basic tools so that you can make an informed choice.

Do You Need a Professional Installation?
The short answer is no, for many types of bollards only some basic DIY skills and non specialised tools are required for those up for the challenge. This is a great way to save money on the installation of removable bollards, but it will take some time and effort to get a professional result. Let’s take a closer look at six simple steps that you will need to follow.
1. Don’t Unpack the Bollards Until the Installation
When you receive your removable steel bollards, it’s tempting to open them up and remove all the packaging. Of course, you do need to check that the delivery is correct and that everything is present. However, you should then repack the bollards and keep them safe until they are installed. This will ensure that the hardware is kept intact and that any fittings are not lost before you begin. There will be some instructions; it’s a good idea to review these to make sure you have all the necessary tools and keep them safe.
2. Carry Out a Safety Assessment
There may be hazards at your installation site that could compromise the safety of your installers. So, it’s a good idea to carry out a brief assessment of the site to ensure that the area is safe to work in.
3. Check the Bollards and Instructions
Now it’s time to unpack the bollards and double check the instructions to ensure that you have every tool and part that you need to carry out the installation. Carefully lay the bollards out and make sure that you lift them safely by bending your knees and keeping your back straight.
4. Measure the Area and Mark the Alignment
Take some time to measure and mark the locations where you want to install your bollards. This can be done with a measuring tape and some chalk, aim to space your bollards no more than 1.5 metres apart.
5. Move the Bollards into Position
Carefully move the bollard to the marked position, don’t slide it along the ground or drag as this will damage the surface. It’s a good idea to lay it flat on some spare packing material until you install it.
6. Installing the Bollards
Drill pilot holes into the concrete with a hammer drill using a 14mm masonry drill bit. Drill to an approximate depth of 120mm and clean the concrete dust away. Push the supplied plastic plug in the holes and hammer them home. Then place the bollard into position and fix it in place with the supplied screws and don’t over tighten them.
If you’re in the market for removable bollards in Perth, get in touch with us at Image Extra for expert help and advice.

